
 Have you ever calculated the amount of money you spend on purchasing home cleaning products? It is ridiculously high! Statistics show that we spend much more than we should on cleaning products.
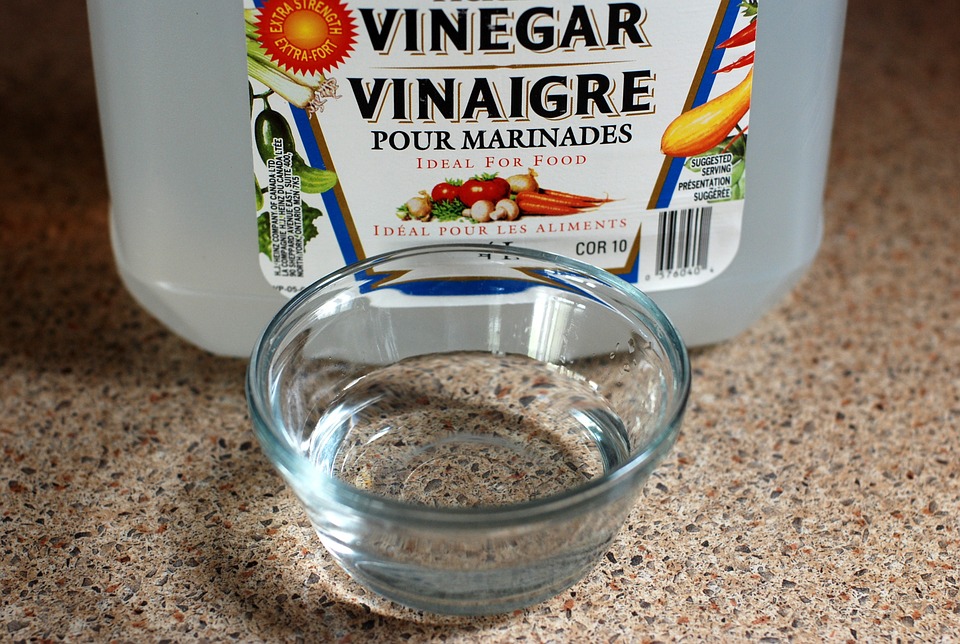
If you don’t believe this, take a trip down the cleaning aisle of your nearest supermarket. You will notice that it is impossible to keep your house clean without loading your shopping cart with different cleaners for different surfaces. You will need a specific cleaner for your floor, another for your sink etc. Thanks to homemade cleaners, you no longer have to worry about spending much more than you should. What’s more, homemade cleaners are versatile which means that they can be used on all surfaces and for different cleaning purposes. Without further ado, let us look at the two best homemade cleaners that work. Diluted White Vinegar White vinegar is the best homemade cleaning agent: it offers a wide variety of cleaning solutions. All you need to do is mix a little water to the vinegar to make it mild. Diluted white vinegar can be used to dissolve hard water deposits and soap scum from smooth surfaces. Its gentle characteristic makes it suitable for cleaning hardwood floors. It also serves as a good fabric softener. There are numerous benefits associated with using white vinegar as a home cleaning solution. First of all, it acts a natural deodorizer that absorbs odors instead of covering them up. Secondly, it does not have any coloring agents; this means that it doesn’t leave grout stain on your tiles. How to Use White Vinegar? In the kitchen, spray the diluted white vinegar on countertops, backsplash areas and soiled range surfaces. White vinegar can also be used on toilet bowls. Pour the diluted white vinegar around your toilet bowl and scrub with a brush to remove stains and odor. For clogged shower heads and tough bathroom wall stains, you will be required to spray vinegar on the wall and let it soak overnight. This will be followed by the act of buffing and rinsing your fixture. The result is a shiny looking bathroom. For more tips on using vinegar as a homemade bathroom cleaner visit HomemadeShowerCleaner.com Baking Soda Baking soda is a pantry staple that has been proven to have virus killing abilities. It is also an effective cleaner and deodorizer that brightens and cuts sharply through grease and grime. How to Use Baking Soda Baking soda can be used on grimy and greasy bathtubs. During cleaning, sprinkle a bit of baking soda on dump sponge. Scrub the greasy area with the sponge and later rinse to reveal and shiny looking bathtub. The baking soda sponge can also be used to remove greasy food on the kitchen sink. For tougher stains, make a paste from the baking soda and apply on the greasy surface. You can leave the paste to soak for a few hours. Important note: never use baking powder paste on blocked drains. Final Remarks You do not have to spend so much money on off the shelf cleaning solutions. There are quite a number of homemade cleaning solutions that actually work. You can start with two simple listed recipes: baking soda and white vinegar. It is important to remember that you can decrease or increase their strength as your home cleaning needs require.
1 Comment
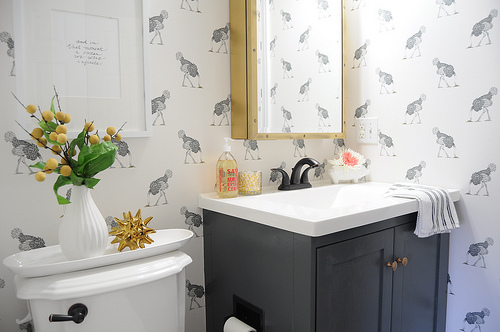 Cleaning the bathroom can be a tiresome task, but with the help of our "how to clean a bathroom checklist," you will find it relatively simpler. Follow the step by step instructions given below and just for the sake of easy reference, we advise our readers to print out a copy of the checklist as well.
1) The Mirror - Cleaning the mirror is a lot easier than most of the other tasks on this checklist, but it still has to be done. You can either use water and a dishwasher liquid or you can buy a glass cleaner; both will get the job done. Take a soft and fibrous piece of cloth and soak up some of the cleaning liquid. Now, begin to shine the mirror by wiping away until it becomes as clear as it can be. 2) The Sink - A few thorough wipes with a damp piece of cloth should be enough to clean the sink in most cases. If necessary, feel free to add a dish-washing liquid to the dampened cloth. Toothbrushes are perfect for scrubbing out the drain, thanks to their slim build. An old credit card can be quite handy in scraping out dirt from the narrow spaces in between the sink and the counter. 3) The Bathtub - Apply some cleaning liquid on the walls of the tub and scrub in circular motion with the help of a tub-scrubber. Once you are done, use clean water to wash away the liquid completely. Depending on the size of your bathtub, this may take a while. 4) The Toilet - Disinfecting the toilet is one of the most important parts of cleaning the bathroom. Begin by sliding a few fizzy antacid pills right into the toilet bowl. Close the lid and wait for about half an hour before scrubbing and wiping at the inner walls. 5) The Faucets, the Rods and other Fixtures - First, clean the fixtures with a piece of cloth dampened with detergent-water. Next, wipe away the remaining residues with a clean dry piece of cloth. 6) Air Vents - A dusty vent can interfere with the airflow in a bathroom. Use a vacuum cleaner or simply dust the vents off with a brush. 7) The Bathroom Floor - This is one of the more tiresome tasks in the list and we suggest that you start mopping from the farthest corner. Make your way towards the door of the bathroom while mopping from left to right. You will need two buckets of water and a mop for this step. One of the buckets should contain water mixed with a floor-cleaner while the other should just have plain water in it. The technique is to mop one portion of the bathroom floor with the cleaner first and then clean the same area with the clean water, right after. 8) The Cabinets - Shift all medicines and other contents safely away from your cabinets before cleaning them. Moisten a piece of cloth in detergent water and use it to wipe both inner and outer walls of the cabinets. dry off any residual dampness with a fresh piece of cloth. If an area is particularly grimy, scrub with a toothbrush. 9) The Wastebasket - Finally, complete our "how to clean a bathroom checklist" by emptying the wastebasket and cleaning it . In addition to using a cleaning agent, we also suggest adding a disinfectant to the water. For a complete cleaning checklist for your kitchen visit RealSimple.com |
AuthorParenting, Cleaning, Cooking. Just mom stuff! Archives
November 2017
Categories |
 RSS Feed
